
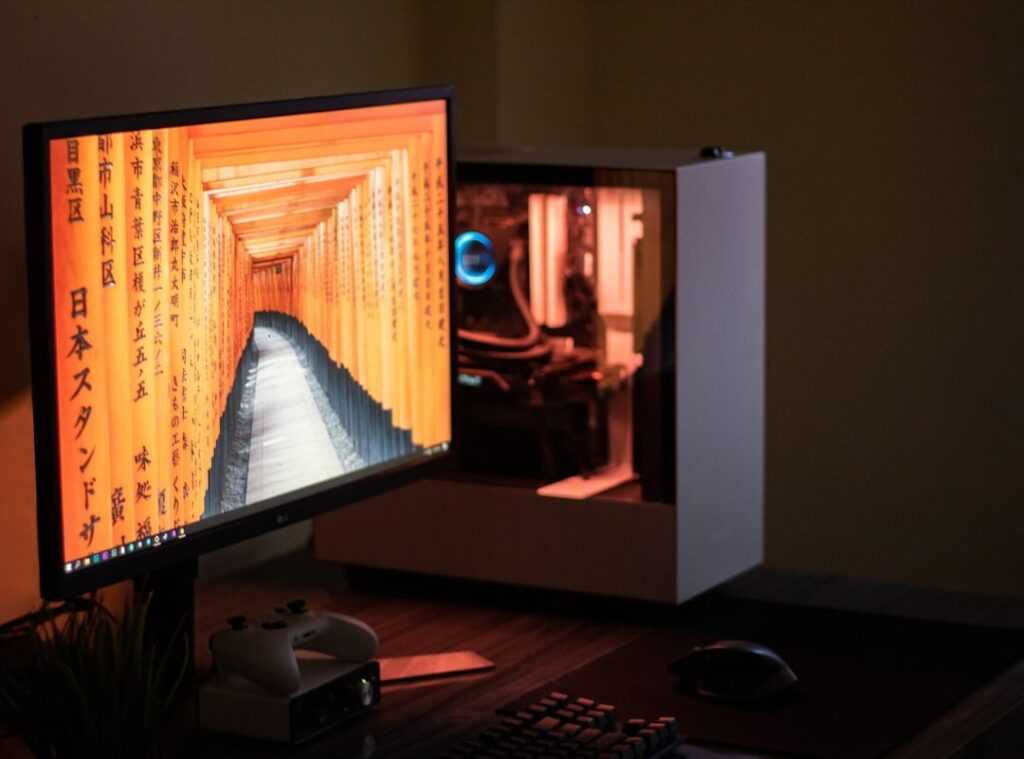
Ever stared at a pile of computer parts and felt a mix of excitement and sheer terror? You’re not alone. The goal here is simple: create a stress-free guide to build gaming PC awesomeness, even if you’re a total beginner.
I’ve been there, feeling lost in a sea of wires and motherboards. But I get it now. And you’ll get it too.
I know the hardware trends and what each connection means (not just how to plug it in). By the end of this, you won’t just have a working PC. You’ll have the confidence to understand the magic behind every click and connection.
Trust me, once you’ve built your own gaming PC, you’ll never look back. Ready to dive in? Let’s make this happen together.
Pre-Game Setup: Tools and Workspace
Before you start to build a gaming PC, let’s talk preparation. It’s like ‘mise en place’ in cooking. Jumping in without gathering everything first is chaos waiting to happen.
A #2 Phillips head screwdriver (especially one with a magnetic tip) is a lifesaver. Add zip ties or velcro straps, wire cutters or scissors.
Now, consider your workspace. Large, clean, and non-carpeted is the goal. Why non-carpeted?
Static electricity is the enemy. Touching metal often will keep you out of trouble. Don’t be that person who fries their motherboard before it’s even out of the box.
Unbox everything first. This is your dry run. Make sure nothing’s damaged and all components are there.
Nothing worse than a missing GPU halfway through. Once you’ve got it all in place, you’re ready for the Guide Optimizing Graphics Settings Pc later on.
The “Heart” of Your Build: Motherboard, CPU, and RAM
Alright, this is where things get tricky. We’re stepping into the “brain surgery” phase, but hang on (it’s) not as scary as it sounds.
Let’s start with the CPU. This little chip is the core of your system. Open that socket retention arm with care.
Line up the triangle on the CPU with the socket. Drop it in gently. No force here, or you’ll be crying over broken pins (and nobody wants that).
Close the arm, and you’re set.
Next up, RAM. Open the clips on the RAM slots. It feels like cracking open a cold one, doesn’t it?
Align the notch on the RAM stick with the slot. Press down firmly until you hear that satisfying click. Use the correct slots as per the motherboard manual (it’s) usually A2 and B2.
M.2 SSDs are the new speed demons. These tiny components act as super-fast storage. Slide it into the M.2 slot at an angle.
Does building a gaming PC sound daunting? Sure, but trust me, it’s manageable with a bit of patience. Each component (from the CPU to the RAM) fits together like a puzzle.
Press it down and secure it with that tiny screw. Why so small? Because today’s hardware demands speed like never before.
You won’t need to force anything if you’re doing it right. It’s all about the right alignment.
Pro tip: Always ground yourself to prevent static discharge. These components are delicate, and you don’t want to fry anything by accident.
Feeling better about tackling the heart of your PC? You should be. This process isn’t just about following steps; it’s about creating a system that feels truly yours.
Step 3: In the Case – Motherboard & Power Supply
Here we are, moving from those delicate components to something more substantial (your) PC case. First off, case prep. Does it sound boring?
Maybe a bit. But it’s key.
You start with the motherboard standoffs. These tiny, metallic heroes save your components from short circuits. (No one wants that hassle.) Line them up with your motherboard’s holes (like) a puzzle but with more stakes. Screw them into the case.
Not too tight. You want them snug, not screaming for mercy.
And here’s a step many overlook: the I/O shield. Think of it as the backplate for your ports. Put it in first.
Always. It’s less annoying than realizing you forgot it after everything’s assembled. Trust me.
Lowering the motherboard onto the standoffs is like docking a spaceship. Be patient. Get one screw into the center first.
Next up is the Power Supply Unit (PSU). Most cases house it at the bottom. Slide it in and screw in from the back.
This gives you use without doing acrobatics. Then, go around the edges. (Remember: snug, not overtightened.)
Four screws should do it. Simple, right? You’ll see the importance of stability soon enough when you’re plugging in those cables.
While you’re diving into this meticulous work, remember, setting up VR for first-time users has its own challenges. But hey, one step at a time. We’re building a gaming PC here, and precision is your best friend.
After all, who doesn’t want the ultimate gaming experience?
The Fun Part: Graphics Card and Major Connections
Alright, you’ve reached the fun part. This is where your machine starts to look like a real gaming PC. I mean, who doesn’t get a little thrill when they see that graphics card slide into place?
First, let’s talk about the graphics card installation. You’ll need to remove the right PCIe slot covers on the back of your case. Open the PCIe slot clip on your motherboard, align your card, and press it in until you hear that satisfying click.
It’s like magic. Secure it with screws so it doesn’t wiggle. Ever tried gaming on a loose card?
It’s not pretty.
Now, connecting power cables. This might sound daunting, but it’s not rocket science. You’ve got your 24-pin motherboard power, the 8-pin CPU power (usually in the top-left corner of your motherboard), and the PCIe power cables for the graphics card.
Make sure they’re all clicked in properly; half the time, weird PC issues boil down to a loose cable. I learned this the hard way. Trust me, double-check.
Front panel connectors are a pain, let’s be real. They’re tiny and annoying. But here’s a tip: use tweezers.
Or, connect them before installing the GPU. You’ll have more room. Consult your motherboard manual for the main connectors: Power Switch, Reset Switch, HDD LED, and Power LED.
Who writes these manuals anyway? A puzzle maker?
If you’re feeling overwhelmed, check out a custom pc builder. It can guide you through the process with less guesswork.
So, does building a gaming PC sound like a chore or a challenge? I’d say a challenge worth taking. Once you fire up that machine and see it roar to life, you’ll get it.
It’s about creating something from scratch. And isn’t that what gaming’s all about?
Step 5: The Finishing Touches – Cable Management & First Boot
Cable management might seem like a cosmetic detail, but it’s more than that. Good cable management ensures better airflow, making your build gaming PC run cooler (and look slick).
Nothing screams professional like a tidy cable bundle. And don’t forget your SATA data and power cables for the hard drives. Keep them organized too.
Here’s what I do: route major cables behind the motherboard tray. It keeps them out of sight and helps with airflow. Use zip ties to group cables together.
Now, the moment of truth. You’ve got to double-check those power connections. All secure?
Plug in your power cord, monitor, keyboard, and mouse.
Ready? Press that power button. Seeing the BIOS/UEFI screen pop up feels incredible.
It’s like your PC is alive. This screen means your hardware assembly was a success. You’re ready to dive into the next digital adventure (or just brag about your skills).
Next Steps for Your Gaming Journey
You’ve done it! You’ve turned that intimidating box of parts into a solid machine. Building a gaming PC isn’t easy, but you’ve nailed it.
Remember why this worked? We broke it down into simple steps, explaining each connection. Now, what’s next?
Time to install your operating system and drivers. This final step is key to open up your PC’s full potential. Check out our guide on that to get you gaming.
Don’t stop now. Dive into the next phase and see just how far your newly assembled beast can take you. You’ve got this!
 There is a specific skill involved in explaining something clearly — one that is completely separate from actually knowing the subject. Jelvith Rothwyn has both. They has spent years working with digital infrastructure insights in a hands-on capacity, and an equal amount of time figuring out how to translate that experience into writing that people with different backgrounds can actually absorb and use.
Jelvith tends to approach complex subjects — Digital Infrastructure Insights, Tech Setup Tutorials, Knowledge Vault being good examples — by starting with what the reader already knows, then building outward from there rather than dropping them in the deep end. It sounds like a small thing. In practice it makes a significant difference in whether someone finishes the article or abandons it halfway through. They is also good at knowing when to stop — a surprisingly underrated skill. Some writers bury useful information under so many caveats and qualifications that the point disappears. Jelvith knows where the point is and gets there without too many detours.
The practical effect of all this is that people who read Jelvith's work tend to come away actually capable of doing something with it. Not just vaguely informed — actually capable. For a writer working in digital infrastructure insights, that is probably the best possible outcome, and it's the standard Jelvith holds they's own work to.
There is a specific skill involved in explaining something clearly — one that is completely separate from actually knowing the subject. Jelvith Rothwyn has both. They has spent years working with digital infrastructure insights in a hands-on capacity, and an equal amount of time figuring out how to translate that experience into writing that people with different backgrounds can actually absorb and use.
Jelvith tends to approach complex subjects — Digital Infrastructure Insights, Tech Setup Tutorials, Knowledge Vault being good examples — by starting with what the reader already knows, then building outward from there rather than dropping them in the deep end. It sounds like a small thing. In practice it makes a significant difference in whether someone finishes the article or abandons it halfway through. They is also good at knowing when to stop — a surprisingly underrated skill. Some writers bury useful information under so many caveats and qualifications that the point disappears. Jelvith knows where the point is and gets there without too many detours.
The practical effect of all this is that people who read Jelvith's work tend to come away actually capable of doing something with it. Not just vaguely informed — actually capable. For a writer working in digital infrastructure insights, that is probably the best possible outcome, and it's the standard Jelvith holds they's own work to.